

I have been searching for the PERFECT spice rack for years. I love to cook so my spice drawer turned into a shelf, then a cabinet, and eventually an entire door inside my pantry. Since I was in my twenties, I drooled over pretty, clean, and organized spice racks. I’ve spent a fortune I bet on the organization of my culinary spices, but I think I’ve finally hit the nail on the head with what I came up with now, I just LOVE it!
My Spice Rack Journey
My much younger self absolutely fell in love with Martha Stewart’s tiered spice rack. To say I was Martha-obsessed is quite an understatement. I “taped” her cooking show on my VCR and literally learned to cook from watching her. That is really pretty amazing because my mom and grandmothers were fantastic cooks, but I don’t remember them “teaching” me. Martha did that.
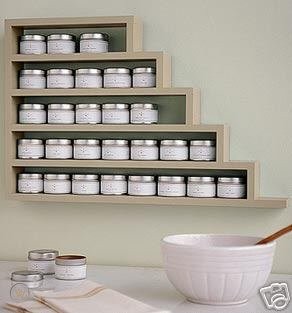
I’m amazed I never bought one of these tiered spice racks and I don’t think they sell them anymore. One of my favorite accounts on IG is Leslie @my100yearoldhome (my #1 entertainment guru) and in every fabulous picture of her California kitchen, I can’t help but see what is most likely an original or vintage Martha Stewart spice rack in that ever-so-wonderful Martha shade of green.
But, alas, when I was younger, I could never afford that wonderful spice rack and as I began cooking more, I really needed one bigger than that, that could hold more spices.
Later on I became enamored with everything Dean & Deluca and ordered their spice rack and the beautiful canned spices that came with it. I had 2 sets and apparently and unfortunately, Dean & Deluca are now out of business (lower my head in sadness) so I guess my 2 steel rack spice racks may be somewhat of a collector’s item, so maybe I should hold on to them!
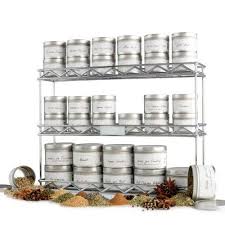
Although I do adore the “can” look, over the years I found that the lids began to stick, making them very hard to remove. I even went to the Container Store and invested in all smaller lidded cans and made my own labels. They did fine too, but as years went by the lids get harder and more difficult to open.
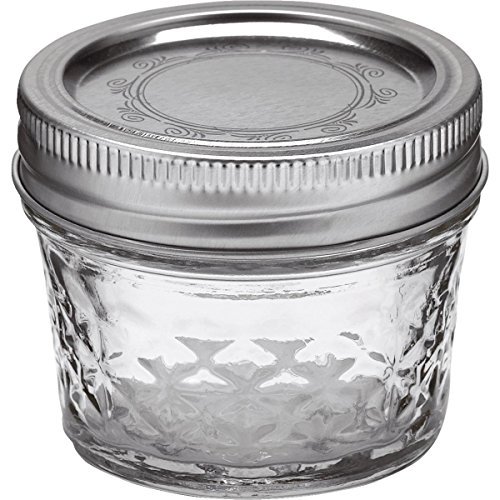
When my everything-vintage obsession began, I went with the idea of using these mini-quilted jelly jars and I assumed I could just “stack” them. After buying dozens of them, making cute little labels, and filling them up, I found out that they didn’t “stack” well and they continually fell over. I still have those boxes of jars upstairs and will keep dreaming of using them for something else someday. Guess maybe I need to make some jelly or jam, huh?
When we moved into this house and kitchen counter space became a major issue, I wanted to find a system that I could have lots of spices, but could keep them out of sight and organized and not take up too much cabinet space. Soooo, I ordered multiple sets of this system from Amazon.
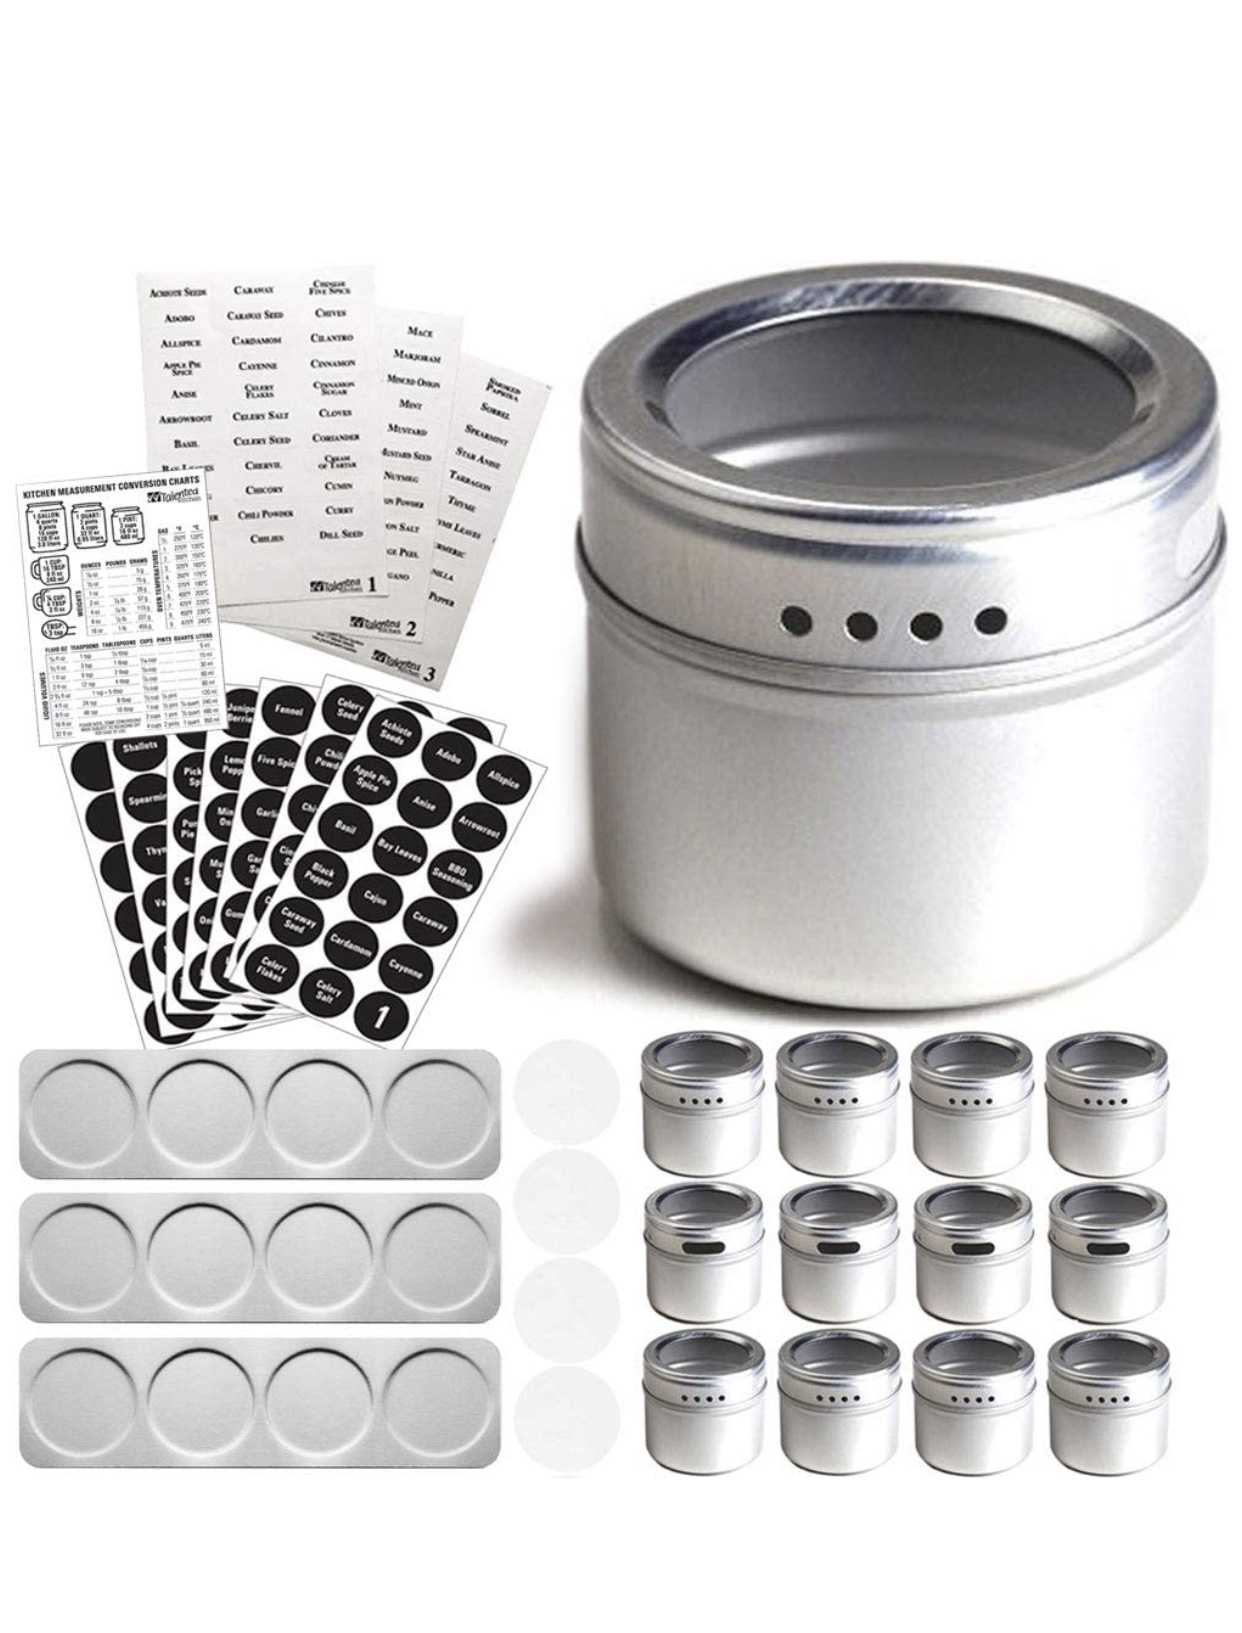
These containers worked with magnets. The steel plates came with sticky mounts and the bottom of the cans were magnetized. I must admit, they were impressive, and I used them for several months before the same thing started happening with the can lids sticking and being hard to turn and take off. I just wasn’t happy with them and although they were in a cabinet and behind closed doors, it was difficult to store anything in front of them, so I longed for something else. I even tried to stick them on the side of my refrigerator, but that looked too busy and messy, it just didn’t work. If you want to see what they looked like, you can click over to my Instagram stories to see a video of us planning this out. You can see my “Spice Rack” highlight here.
I found them!
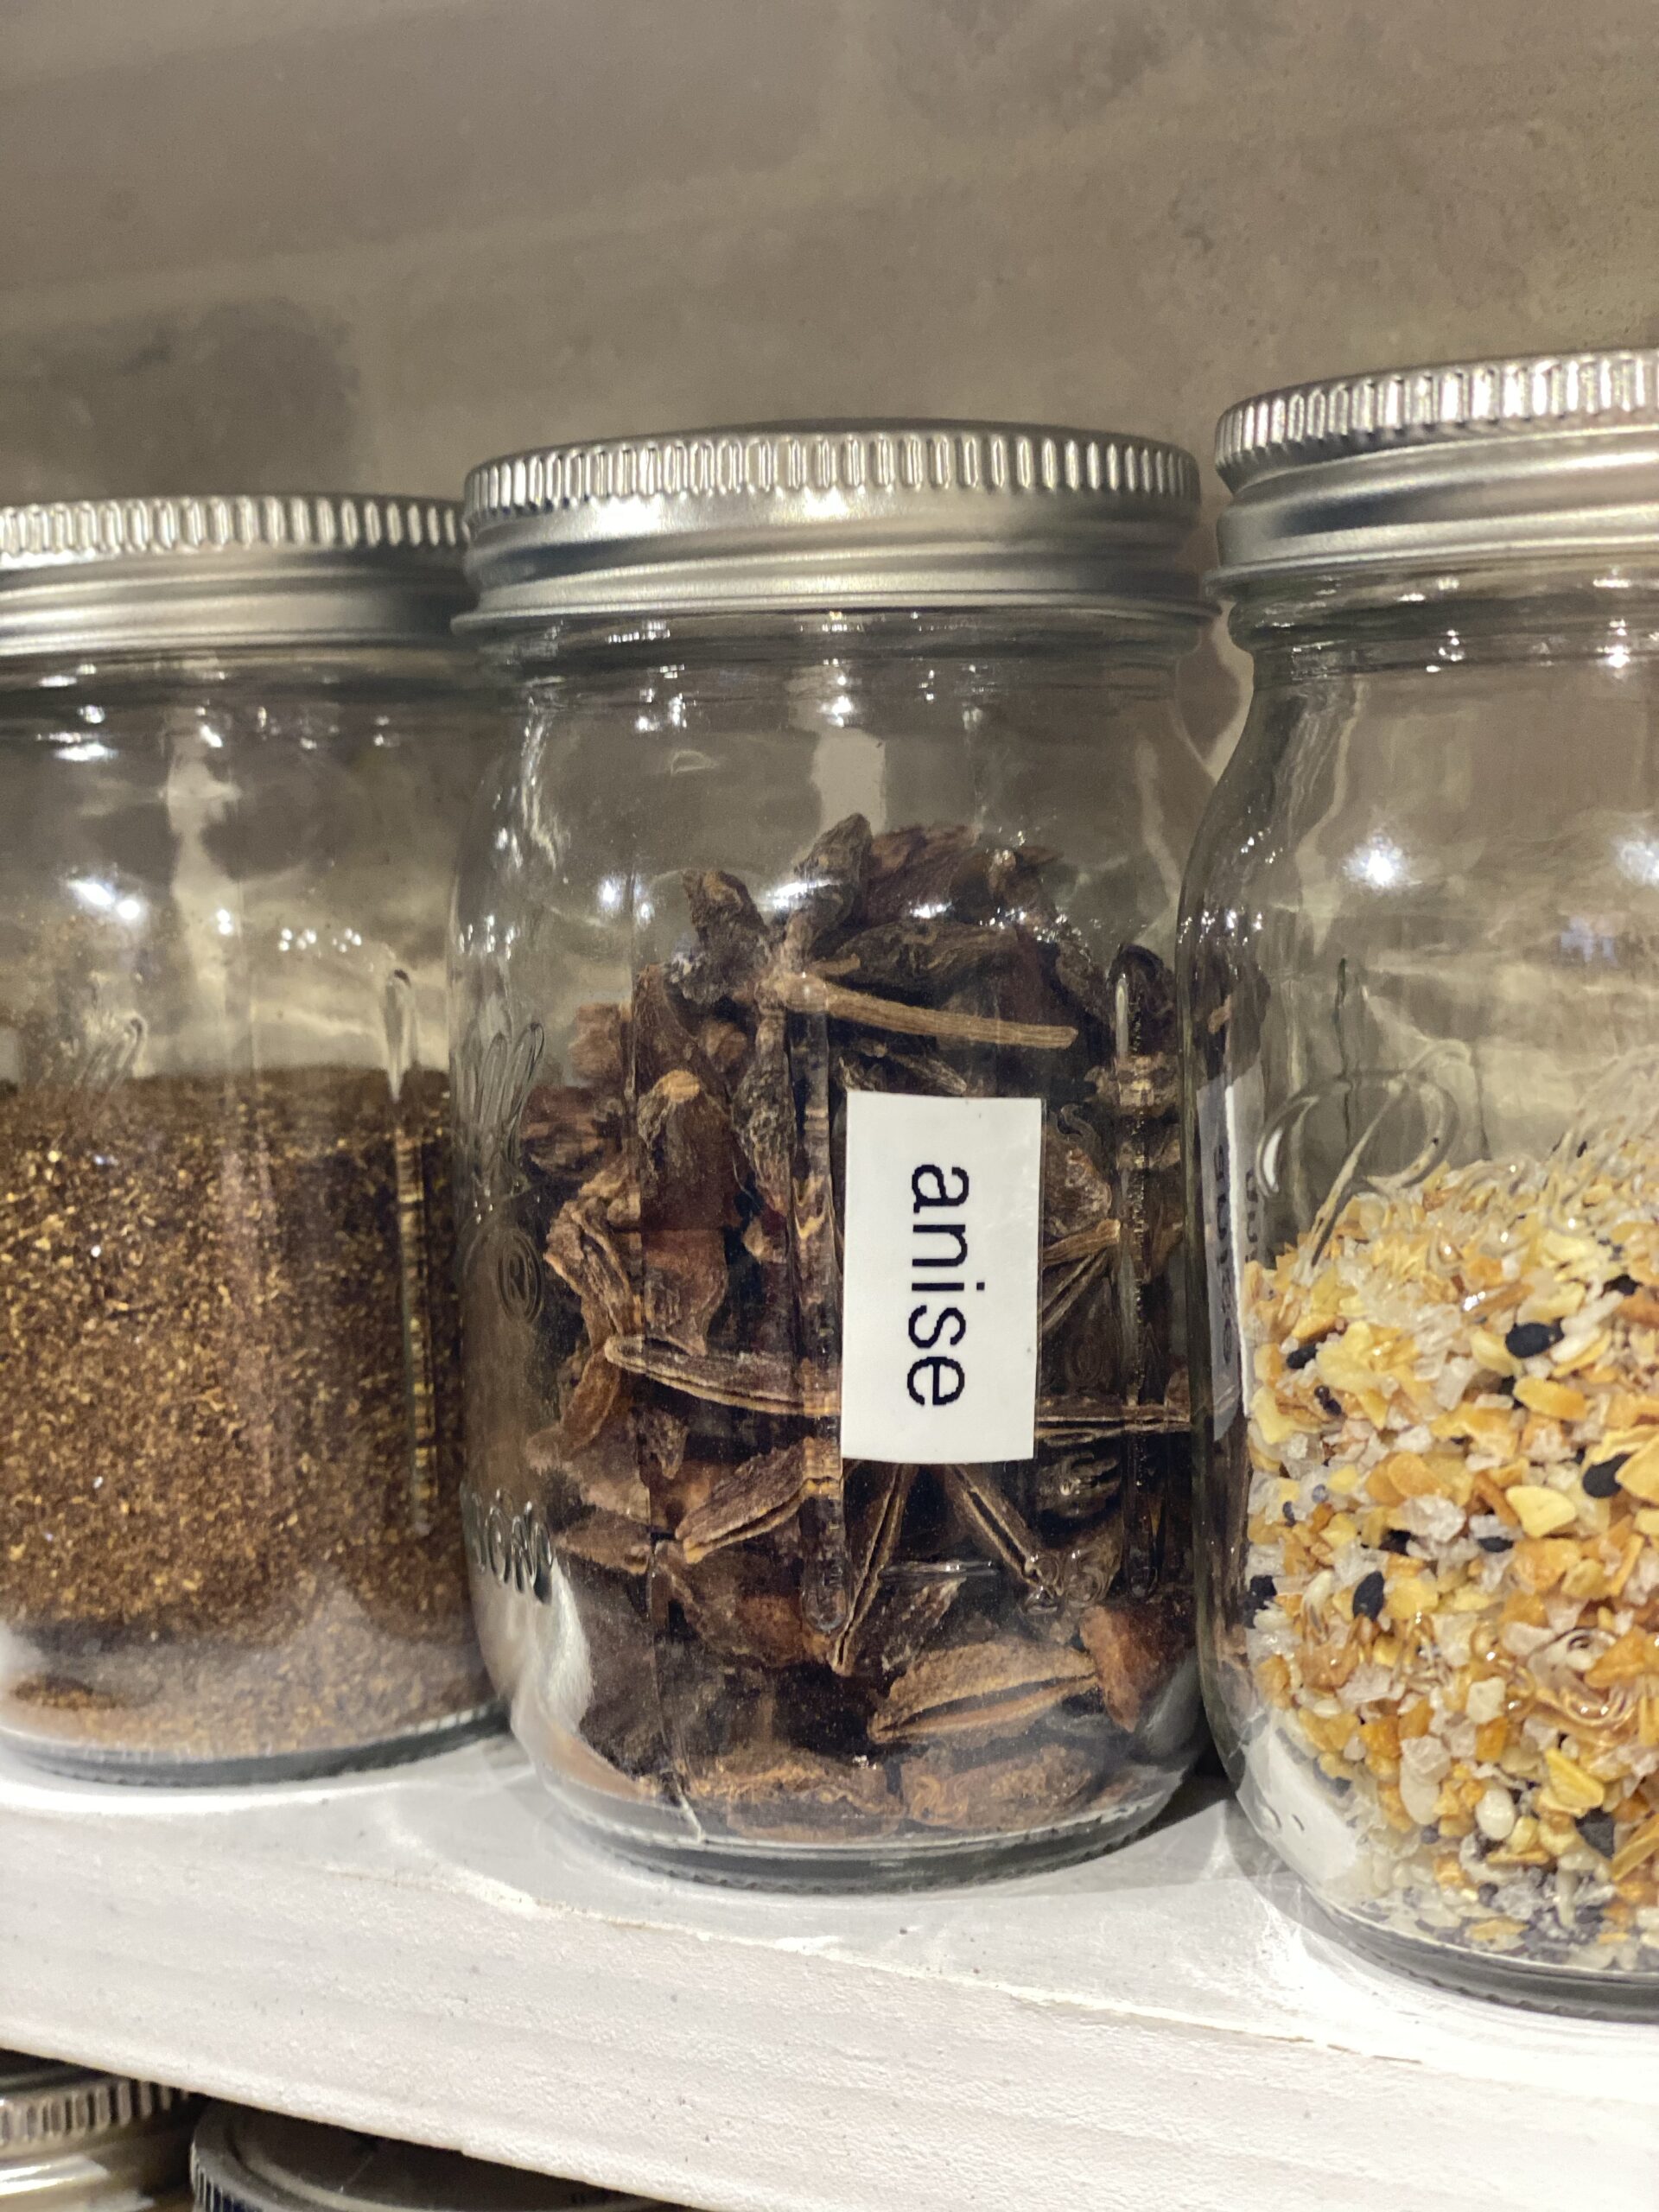
I love mason jars, I use them all over my house. Some vintage, some new, I just love to put “stuff” in them. It just makes anything look so much better in a mason jar, don’t you think? I was in my local Walmart and stumbled on these babies. Oh my goodness gracious, I was in love with these tiny jars and thought THIS is what I want my spices in!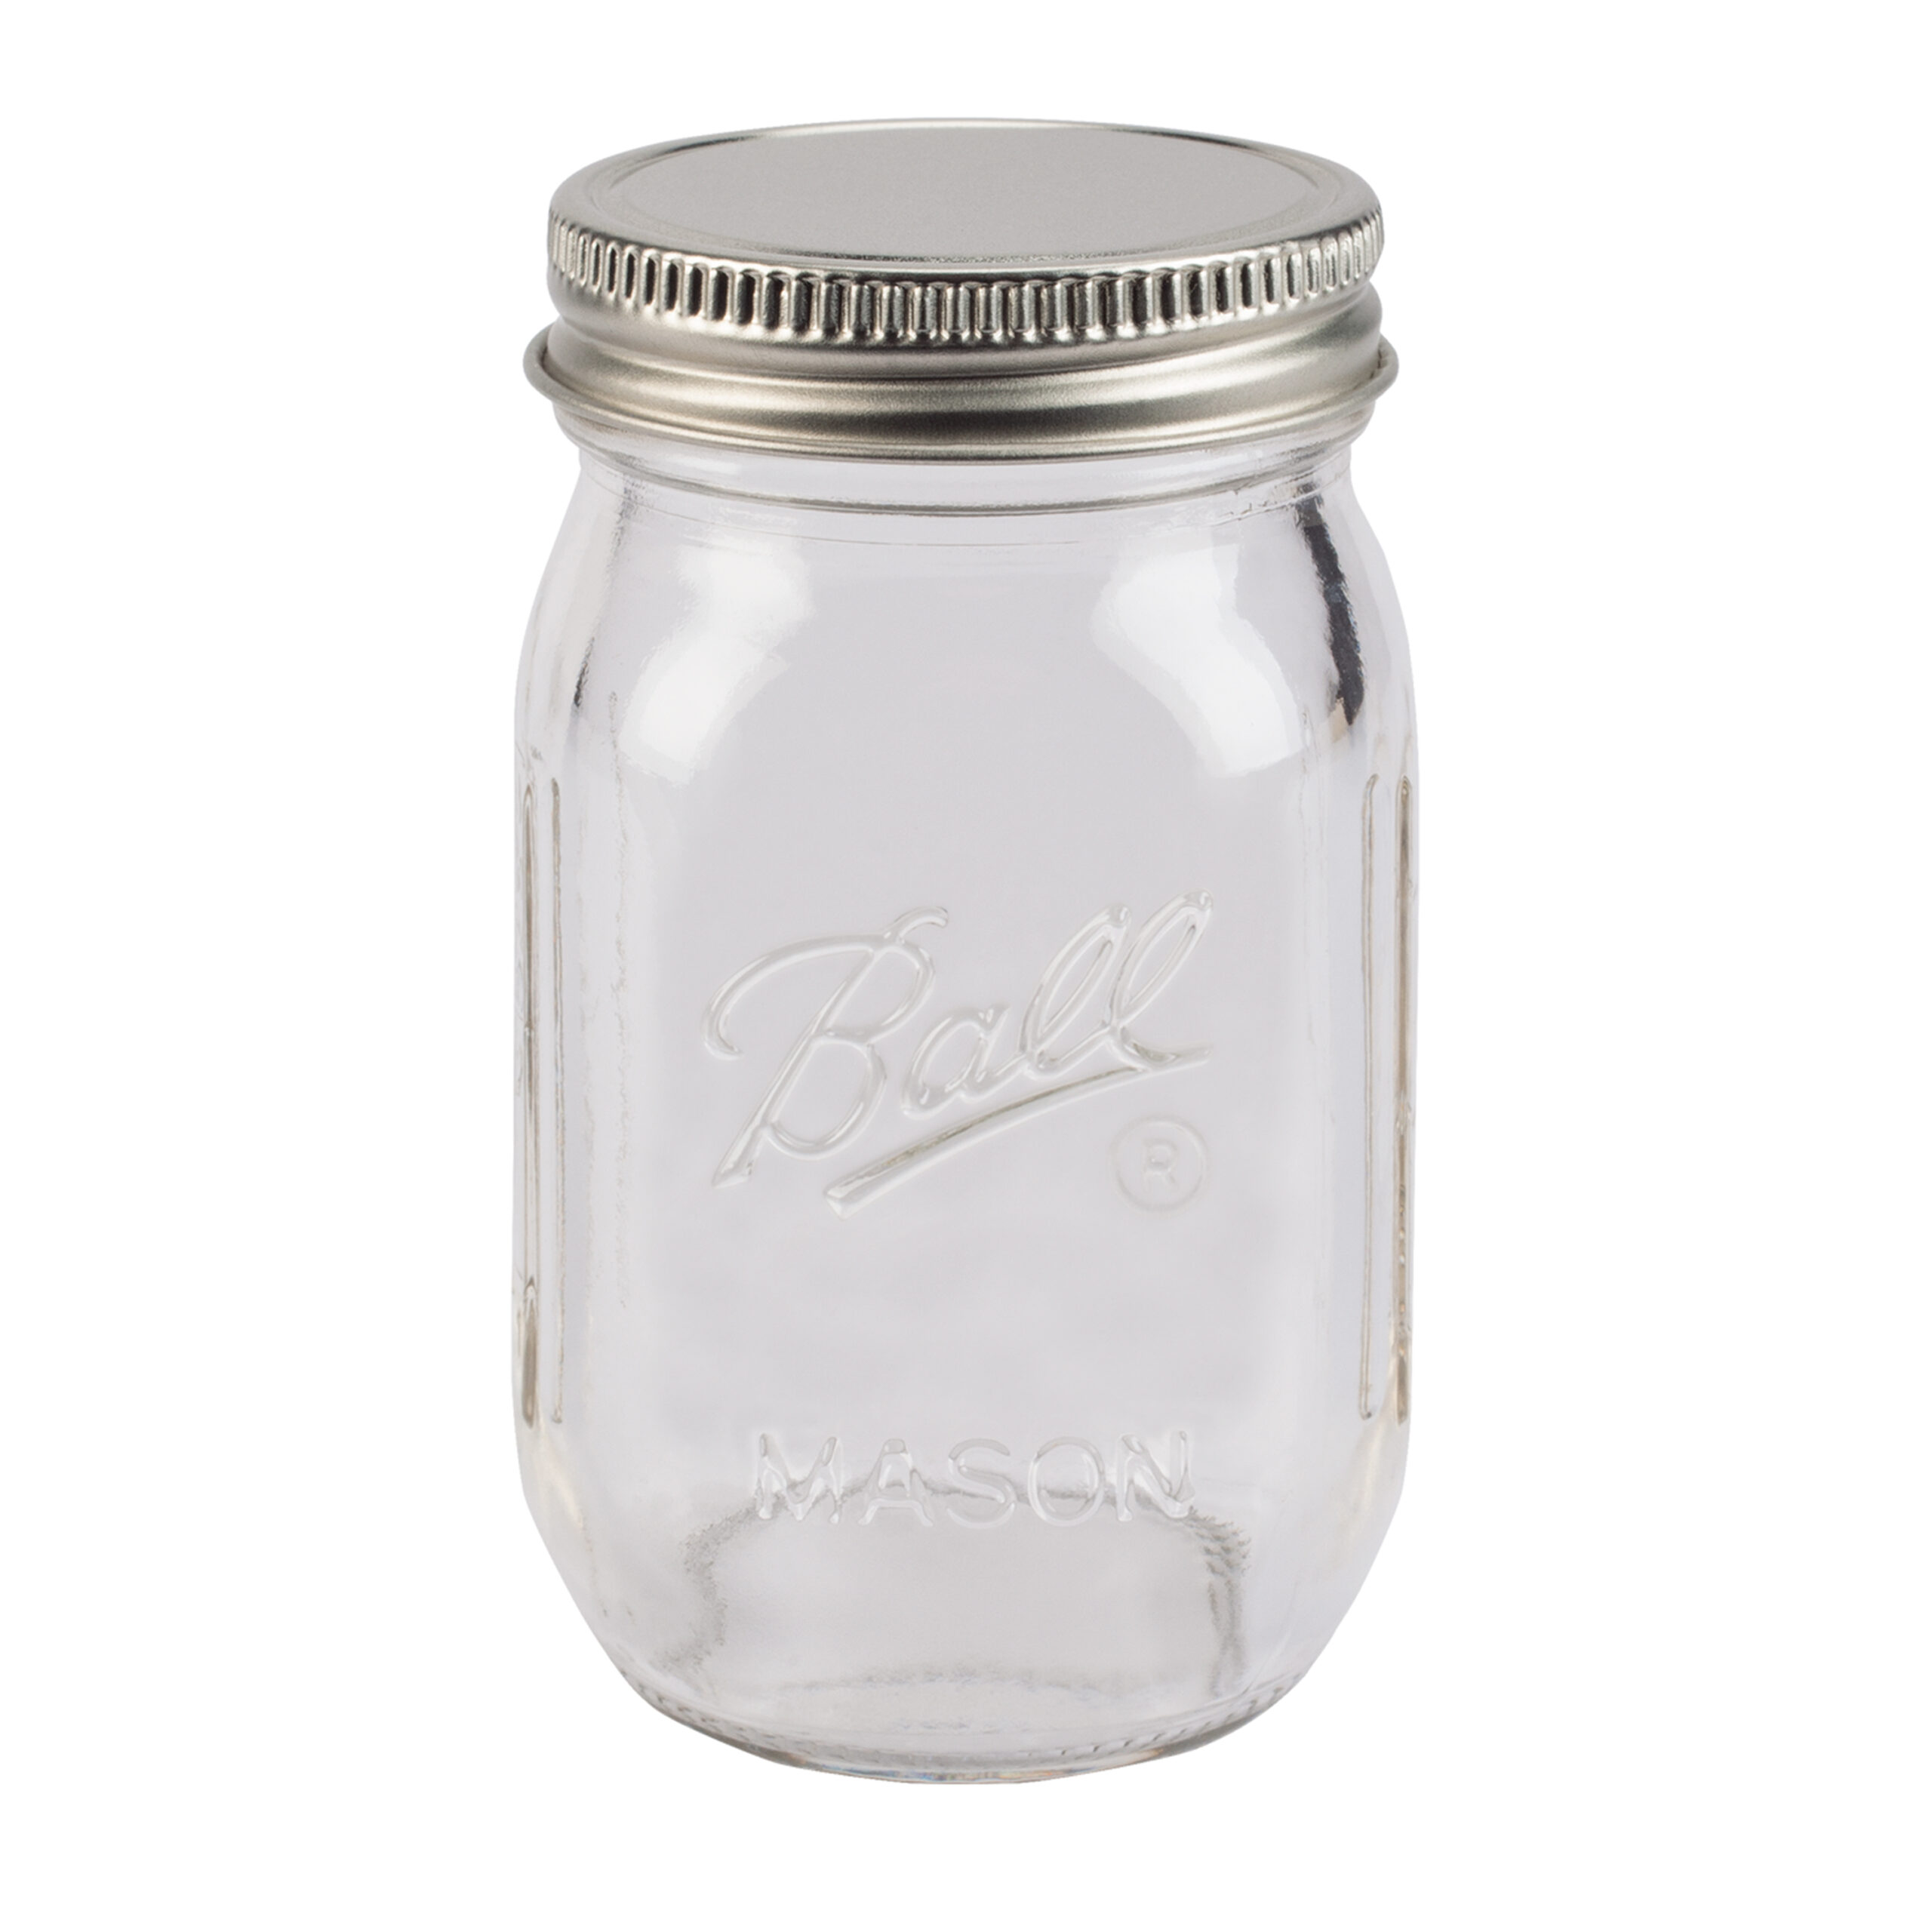 Then came the task of finding a BUNCH of them, yikes, there was only one package of 4 in my neighborhood Walmart, so in the middle of the COVID lockdown, my search began. I curbside-ordered as many as I could from Walmarts all over Austin and then just when I found almost enough, I realized that I could have ordered them all from Target online. Oh well, at least I know they easily accessible, right? But truth be told, you can order them from Walmart or from Target, they both have them!
Now that I found the perfect jar, where do I put them?
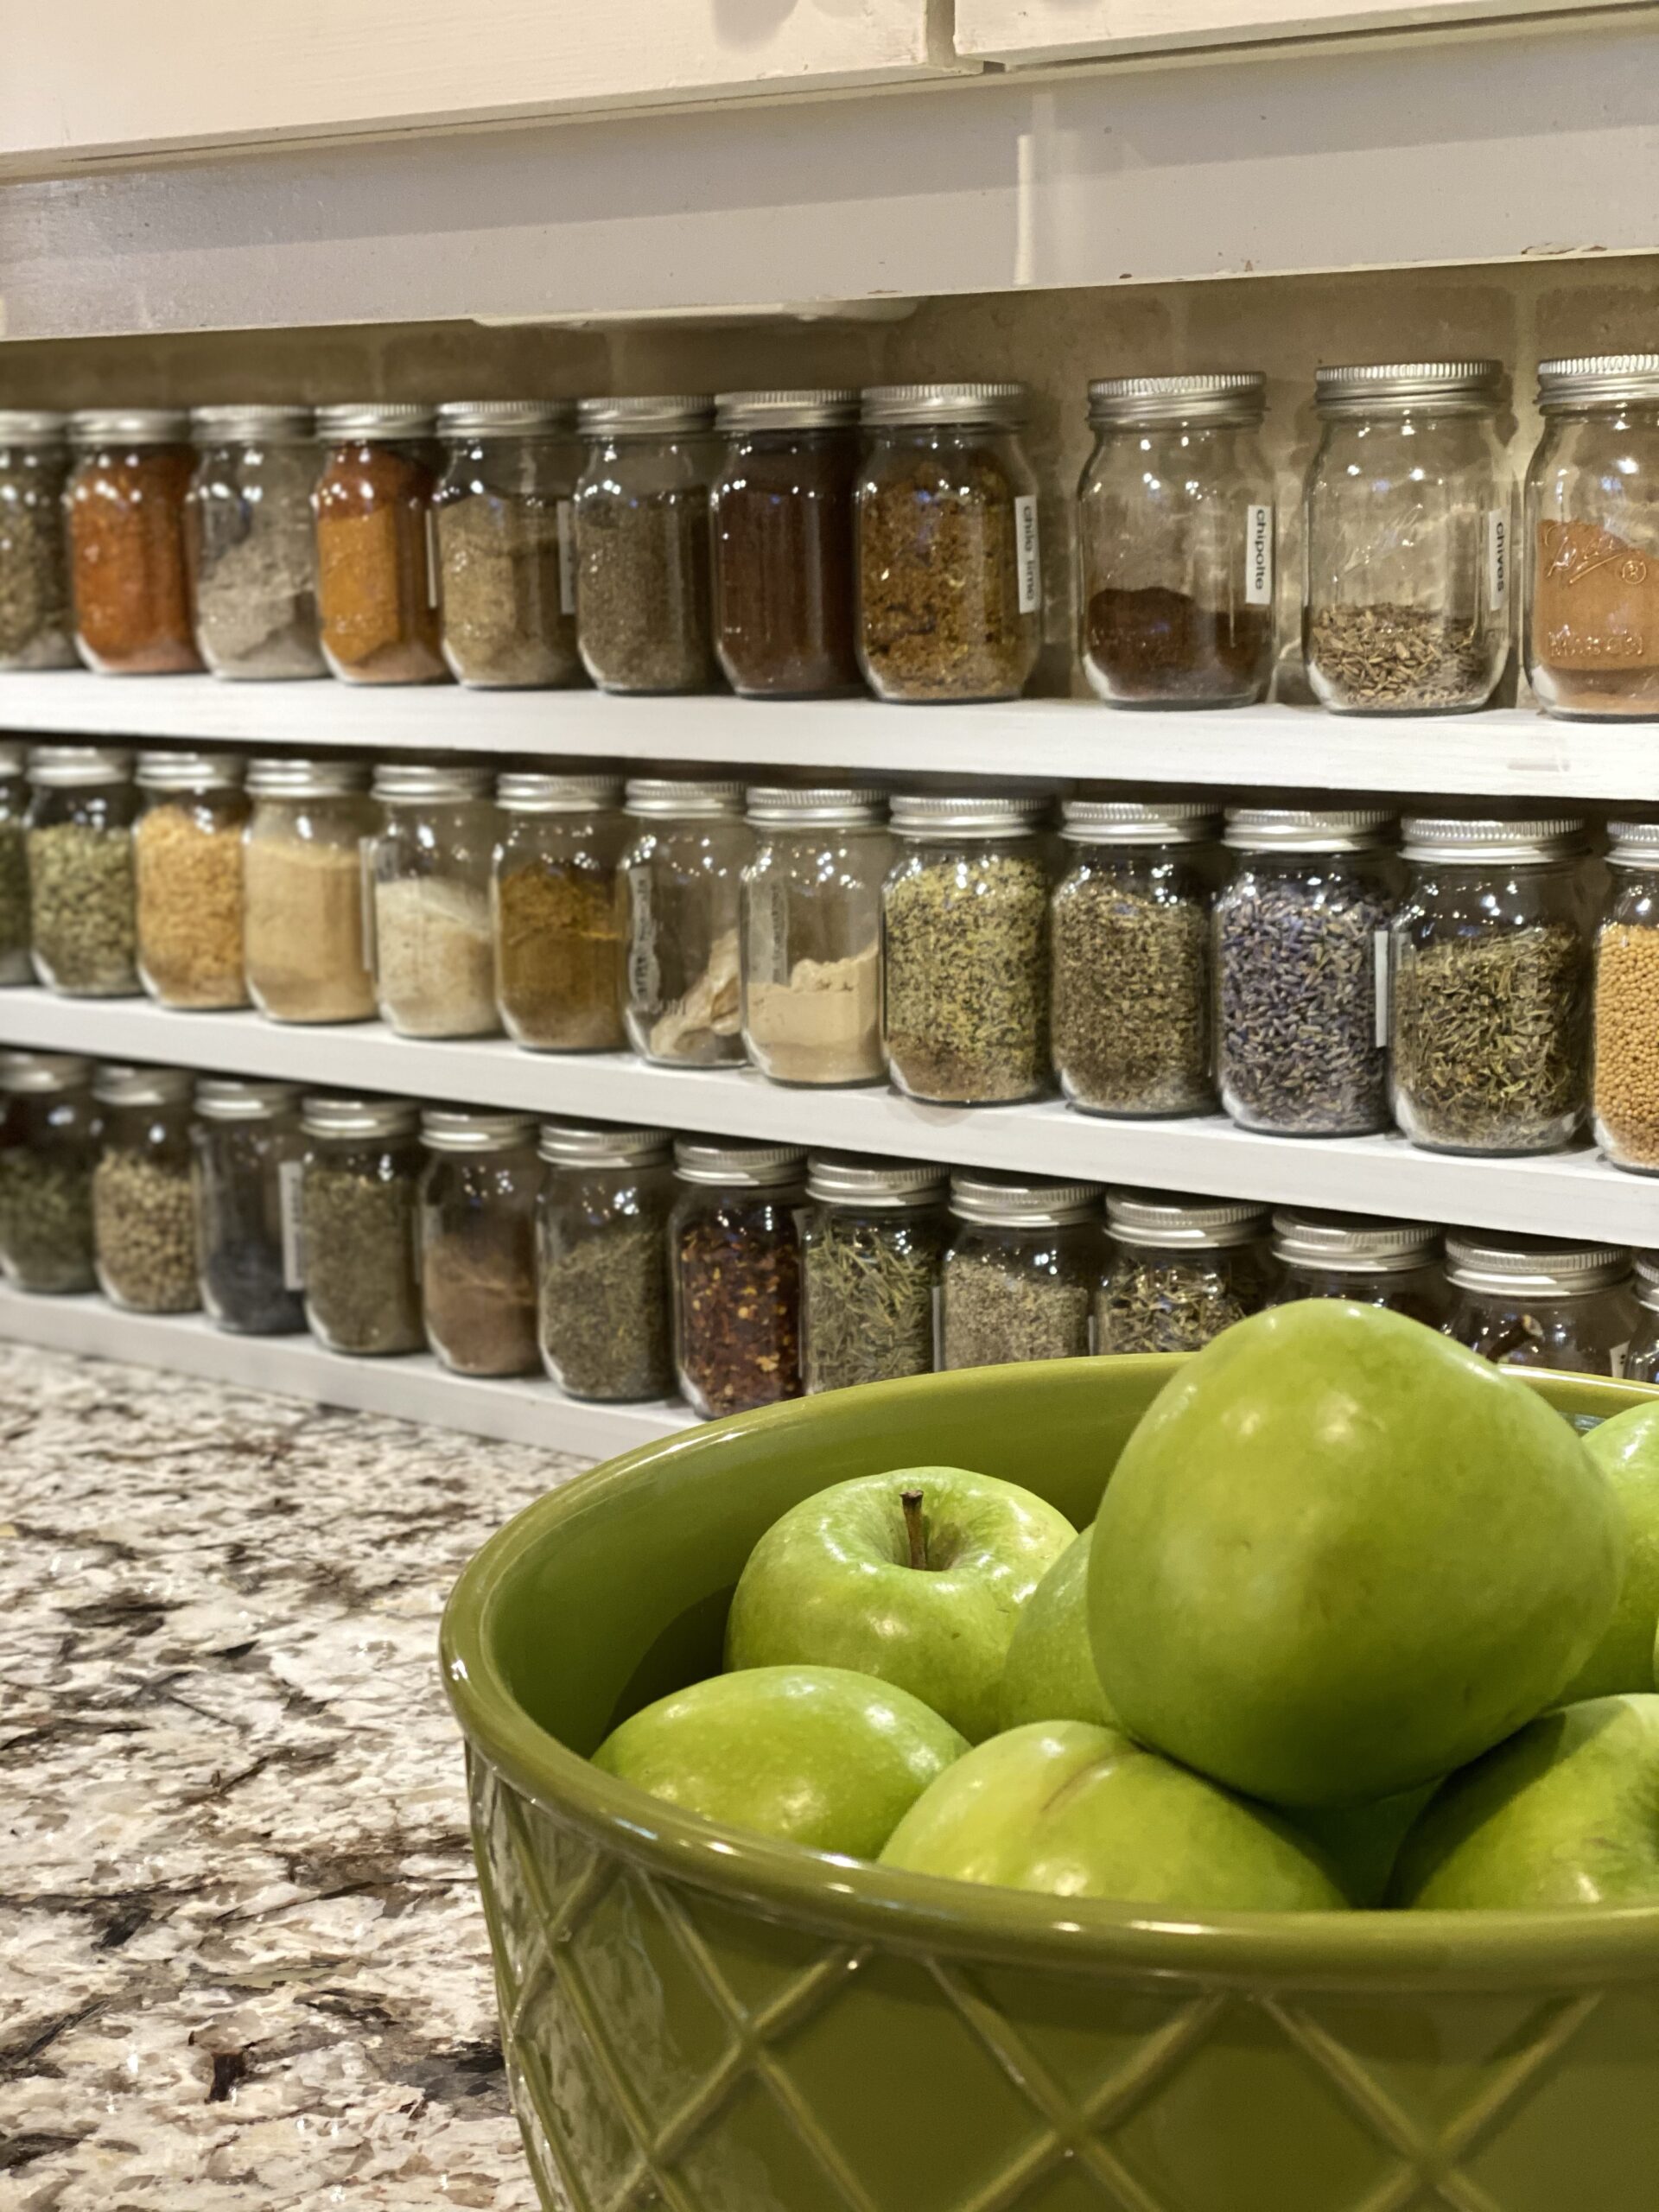
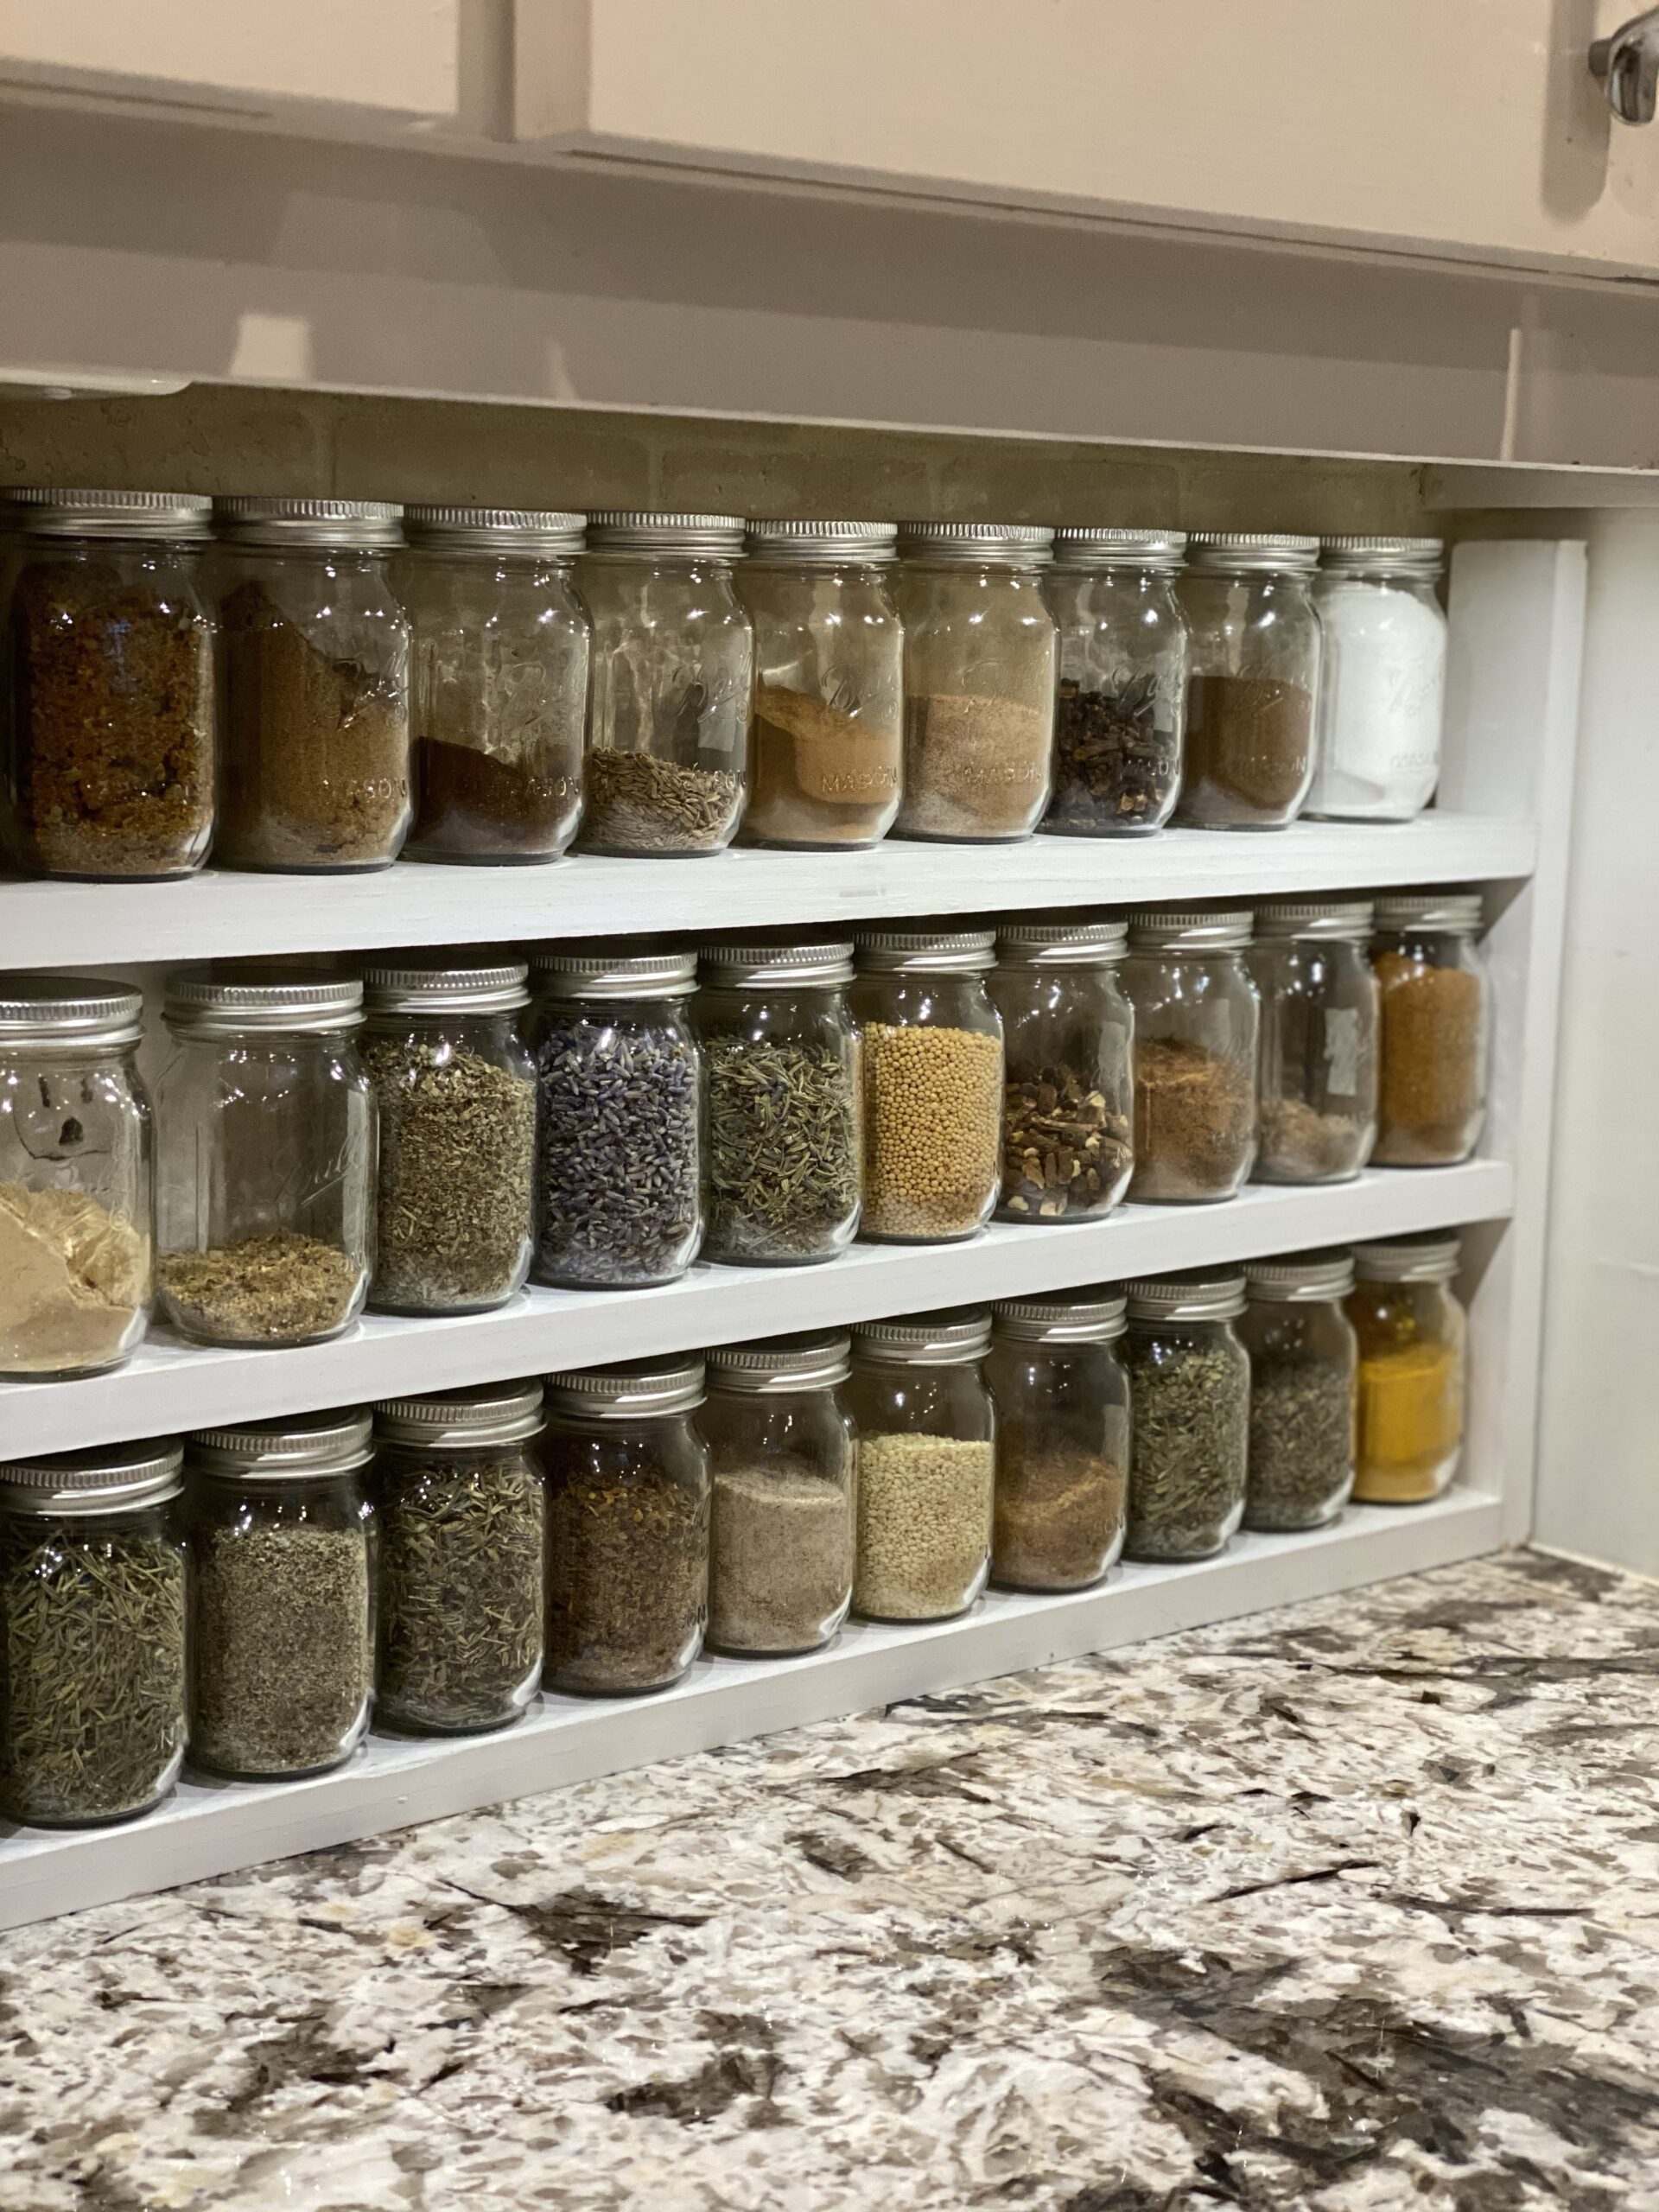
So, then on to the plan of where I wanted to put them. I have a relatively small kitchen so counter space is very limited prime real estate. There is one small area, however, between my fridge and my oven that would be PERFECT! I set out to try and explain my vision to my husband. I wanted 3 rows, via Martha Stewart fashion, but I wanted them to cover the entire area and THAT is where I would stack my little spice mason jars. Needless to say, as with many of my projects that I describe to him, he did not see my vision.
Seeing my vision!
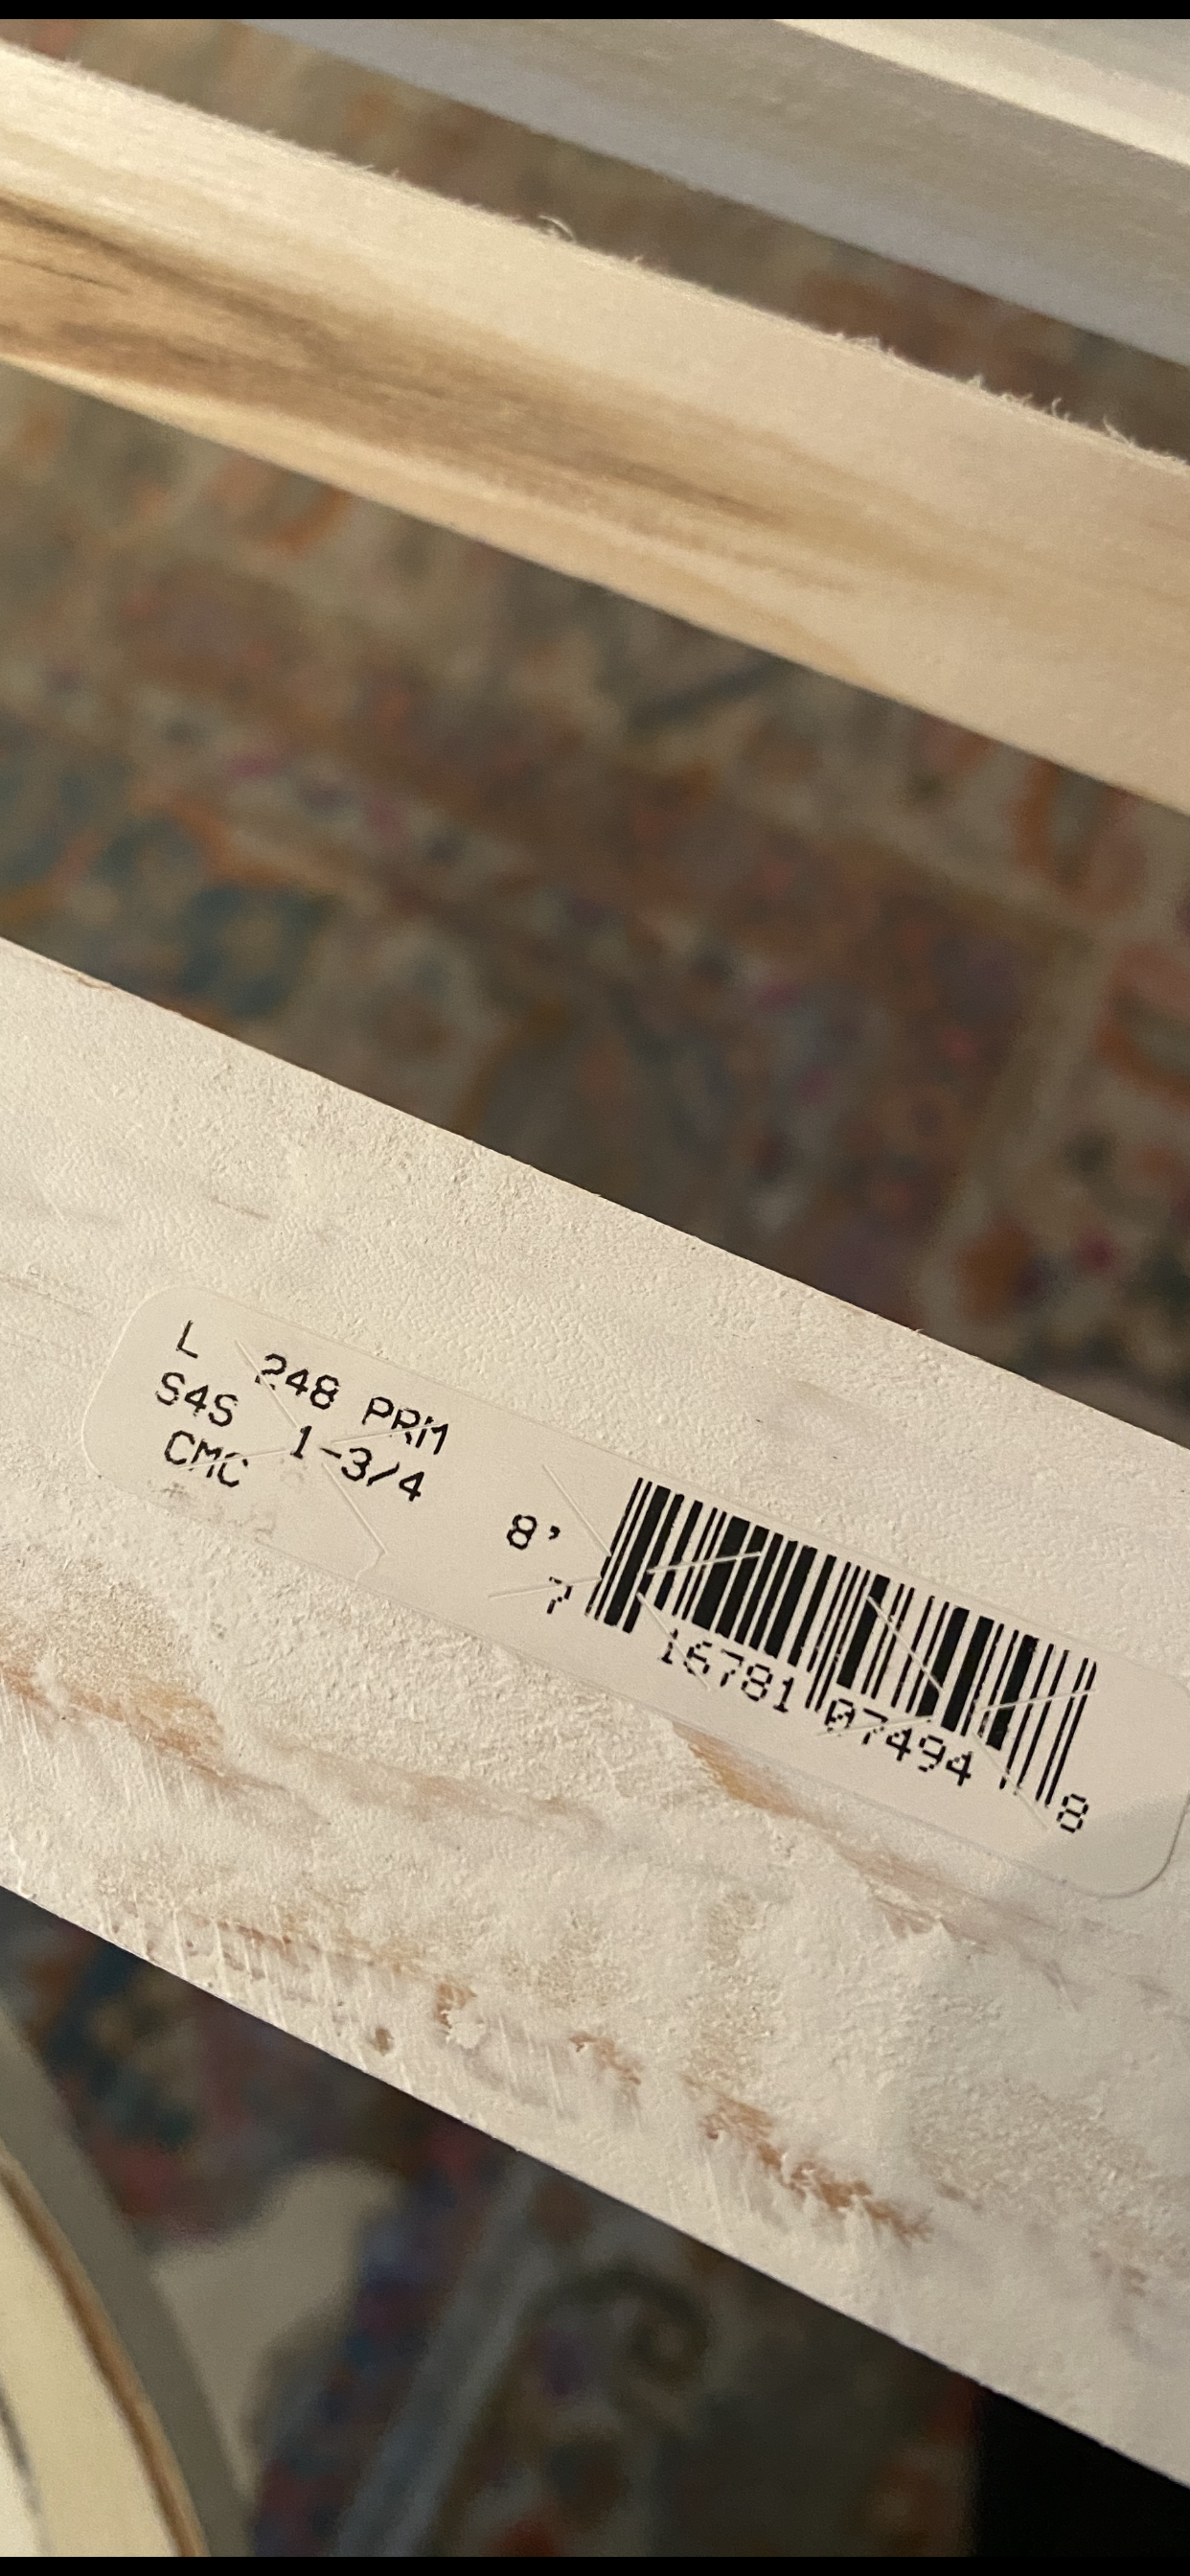
So off to Lowes I went. I took one of my spice jars with me and headed for the trim/baseboard section. I wanted a flat white trim board, no design or molding. I found just what I wanted in a white trim that was just big enough to house the baby mason jars.
I chose a white 8-foot piece, 1 3/4″ trim, and purchased two 8 foot strips. Lowes does not make things easy to link, but here is a picture of the bar code.
My husband blindly (as he still didn’t get my vision) cut the strips for me and screwed them together. When I placed them in the section, a light went on and he finally “got it” and he saw where I was going. I also didn’t want this to be a permanent solution. I didn’t want to put screws in the wall to secure the rack so we decided to use my new best friend, the 3M Velcro strips. These wonderful little devices are miraculous. They worked perfectly and the shelf was sturdy and secure, and in case I change my mind (which I sometimes do), the entire shelf can come out with a pull of the velcro. Again, I explain this in video on my Instagram stories “Spice Rack” highlight here.
Let’s organize
So … after I had transferred all of my old spices to the new little mason jars, it was time to label them. Initially, I just took off the labels of the old cans and stuck them on the top of the jars. Something that I didn’t have that I would completely recommend for this project is to get a small funnel to use, like this set.
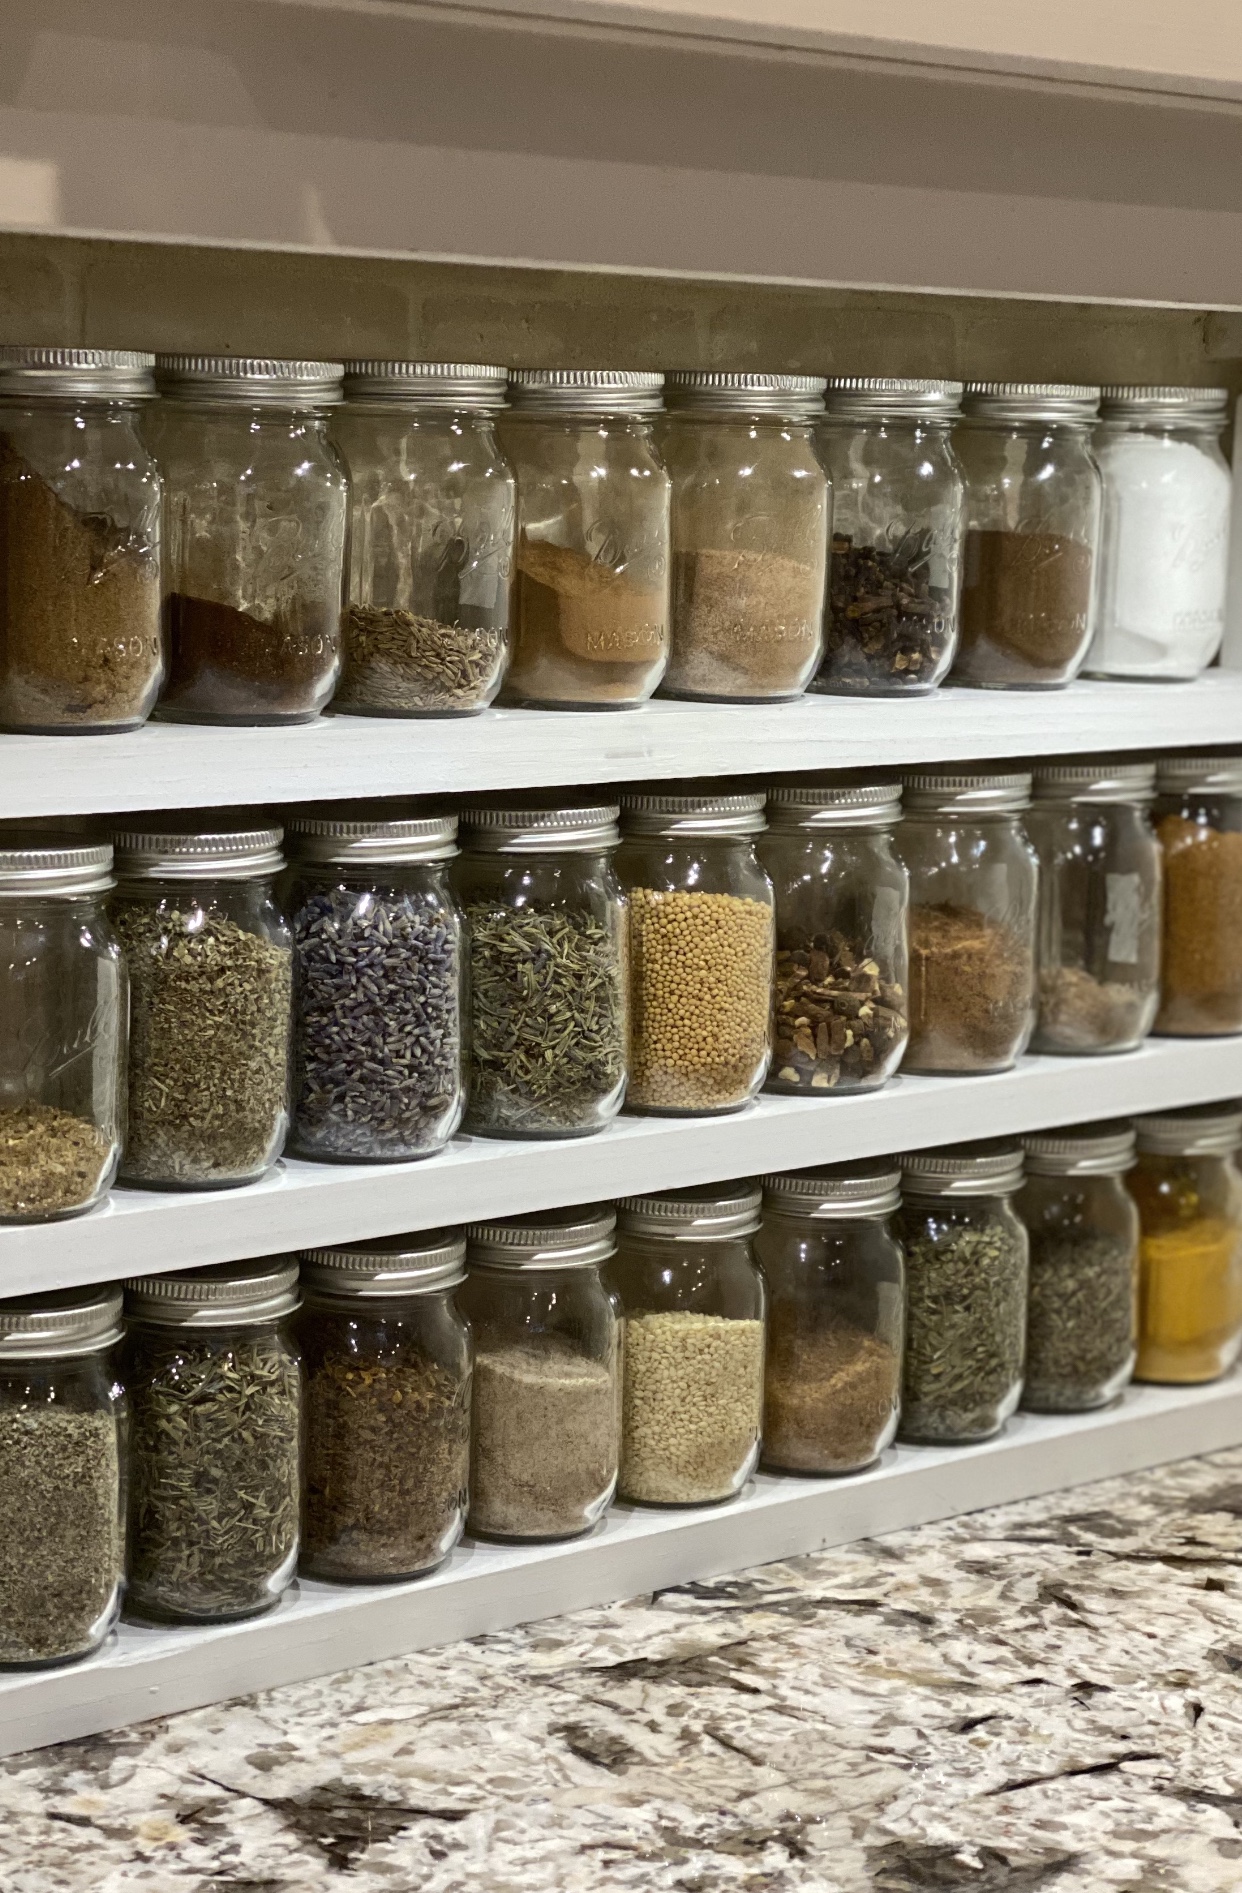
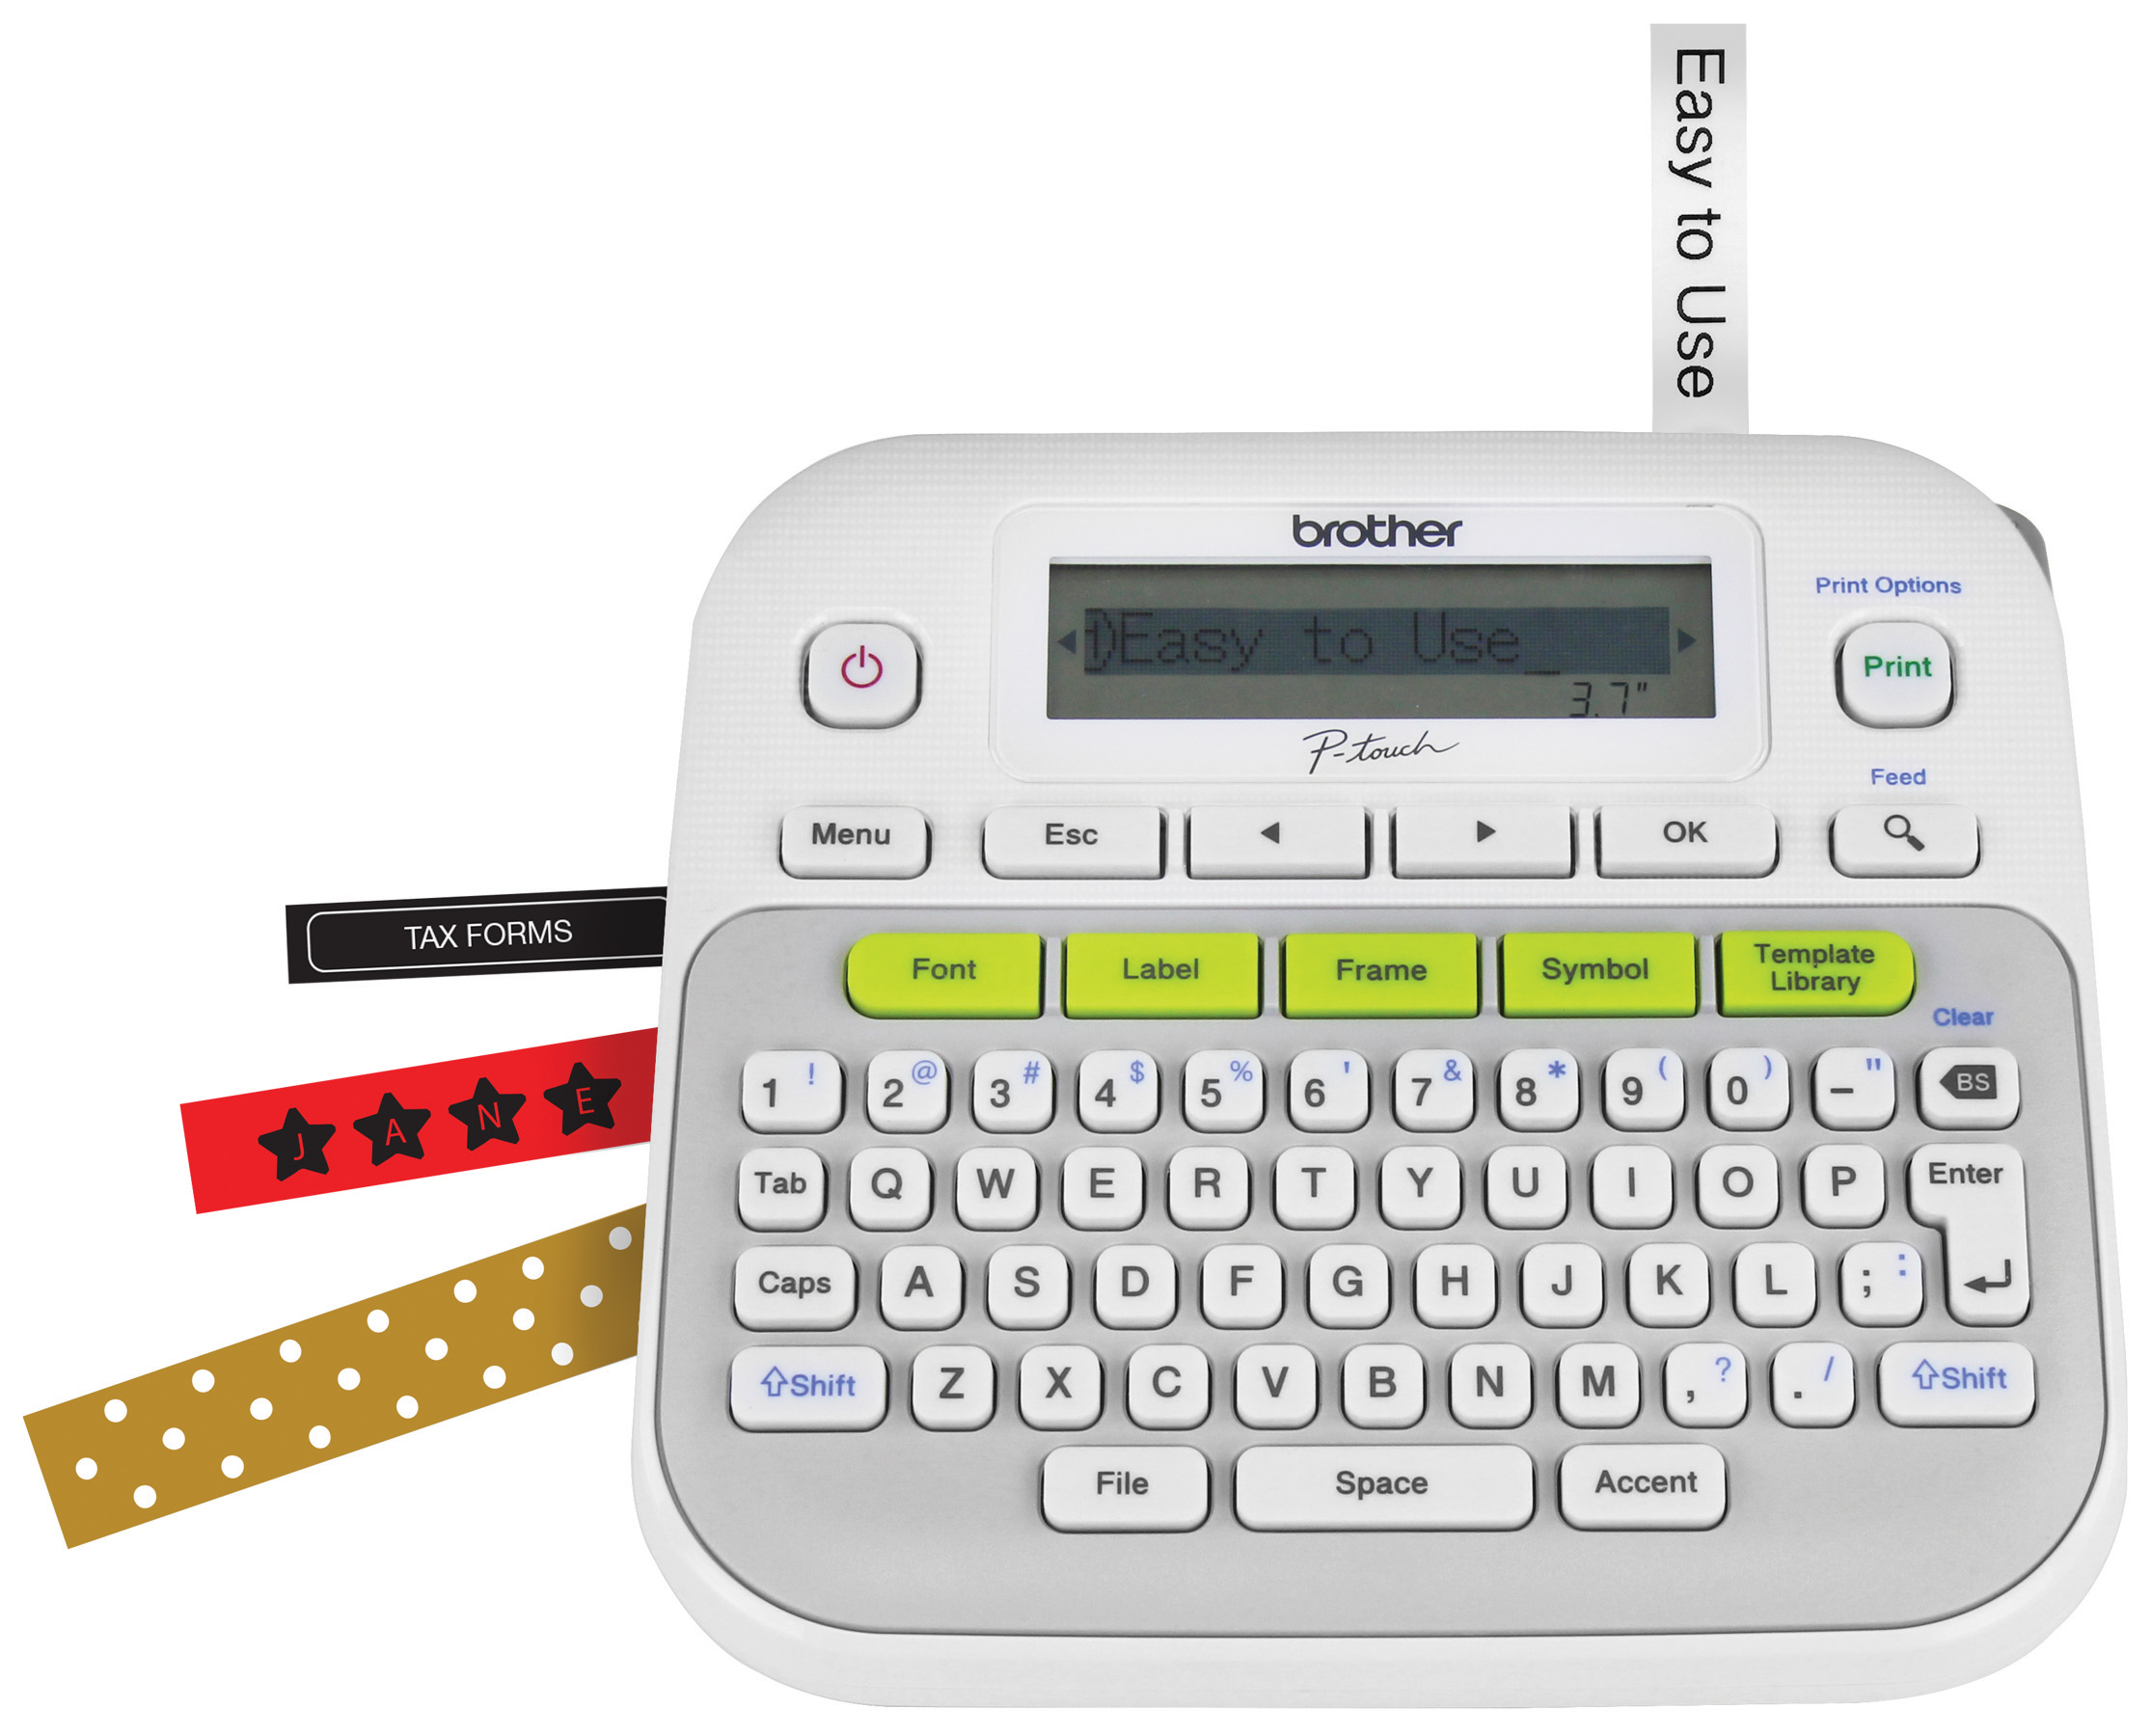
Labeling was going to be tricky. I am somewhat of a label junky; I have 3 label makers. I experimented with fonts and decided to use the Helsinki font on my Brother P-touch, PTD210 label maker with white labels. I did try red labels but it didn’t give the vibe I was going for. After experimenting a little, I decided I didn’t want the spice labels to show, so I put them on the side and turned the spices so the Ball logo was on the front. Now, I know what you are thinking, then how the heck are you going to find which spice you need?
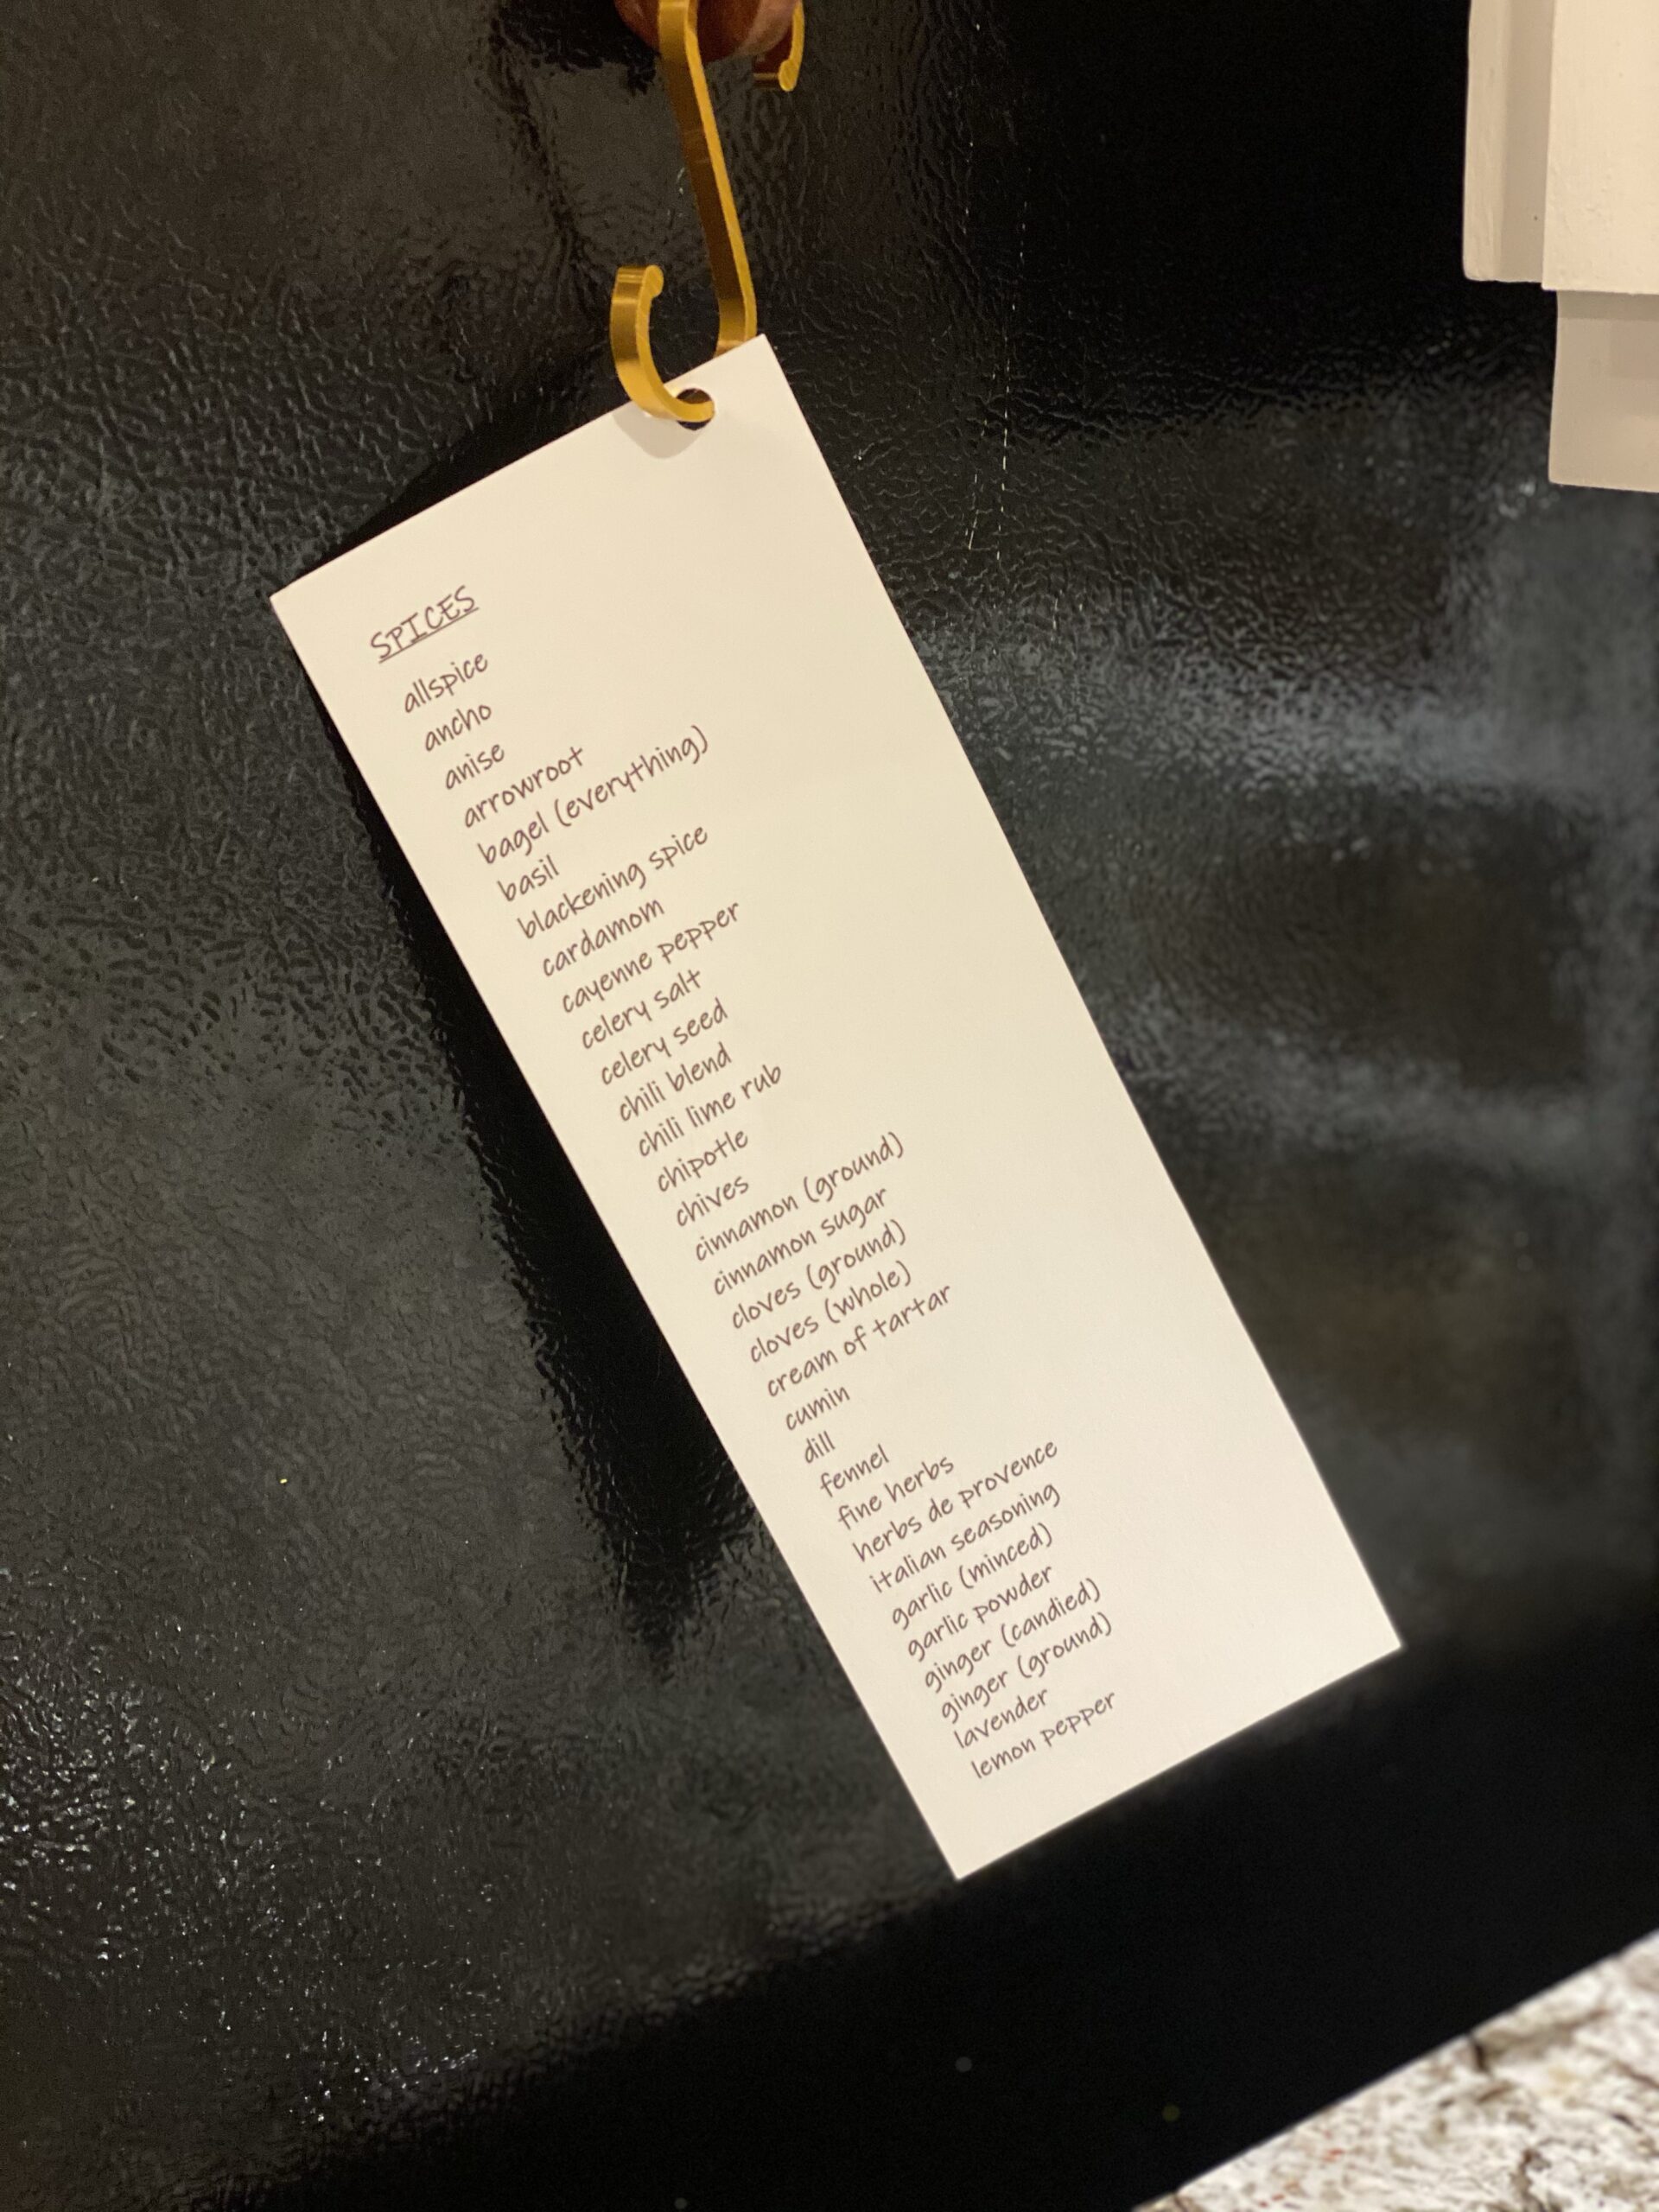
In my kitchen nerd fashion, I pretty much know what spices I have so putting them in alphabetical order has always been a huge help for me (since I have so many spices). Next came the task of alphabetizing these cute little jars. I put them all in alphabetical order and then printed out a list and hung it on my fridge for those non-Darla kitchen visitors who didn’t know which spices we had. You might think that is a daunting task, but a quick tip is to open the Notes on your phone, then click the microphone and read out your spices. I then copied and pasted that list over to Word to clean it up and print it out on cardstock.
I am very happy with the end result, as is my husband. I actually got an “I didn’t see your vision, but in the future, I’ll trust your judgment as this turned out fantastic!” from him, which really made me smile! Now, THAT made the whole project worthwhile!
“But all things must be done properly and in an orderly manner.” 1 Corinthians 14:40
Shop This Post

Shop This Post
* This post includes affiliated links *


