I love gingerbread houses.
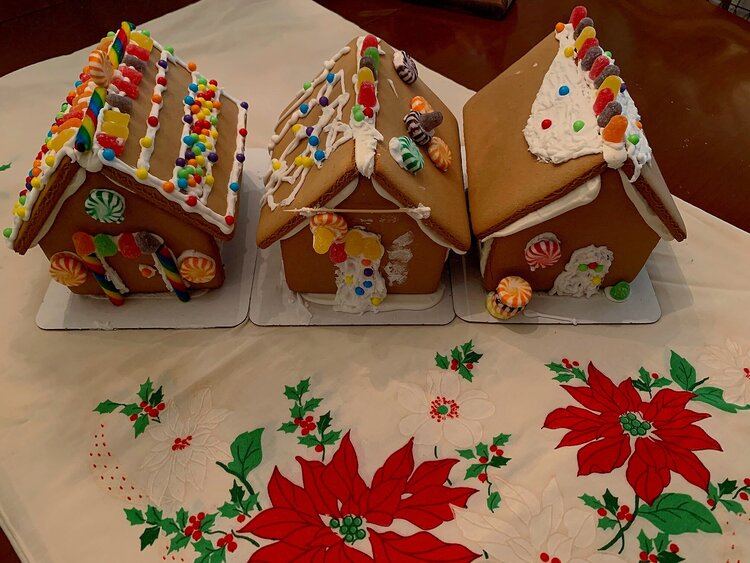
I watch in amazement as my goal Instagram accounts and bloggers create these beautiful, wonderful houses that are truly works of art. I have tried. Last month our 2 oldest grand-daughters (7 & 9) came to visit and I had picked up 3 gingerbread house kits at Walmart for us to have something to do when they were here. They had theirs done in minutes (apparently kids do these a lot now) and I bet I worked for over an hour on mine. And well, theirs were better.
I challenge anyone to look at these 3 houses and pick out which one the adult did.
A Cake Mix Christmas Village
A couple of years ago I found this cute little pan at Homegoods. I just searched for it online and didn’t see it on their site, but it is on Amazon and it’s called a Nordic Ware Platinum Cozy Village Baking Pan. It is a really heavy pan but no matter what it says, it isn’t non-stick (AT ALL). Have your cooking spray of choice handy because it is a prerequisite for these little guys.
I first tried this pan with a gingerbread recipe. Not a good idea. Gingerbread has too much molasses in it and no matter how much you spray it, it sticks, and then you are using a toothbrush to scrub your pan so you can use it again.
The best results I have had is with a cake mix of some kind. I made this yesterday and expect to display it until Christmas so we aren’t planning on eating them. It’s “just to look at” as my mom [VJM] used to say. I chose a spice cake/muffin mix because they smell wonderful for the holiday season.
I remember a real estate agent once told me he would tell all of his clients to bake a spice cake in their oven before their house was shown. The smell is heavenly and is perfect for the holiday season.

How to Prepare and Bake the Perfect Christmas Village Cakes
1. Prepare the cake mix & spray the pan
Prepare the cake mix as the directions read and then MEGA-spray the pan with cooking spray. I mean every nook and cranny.
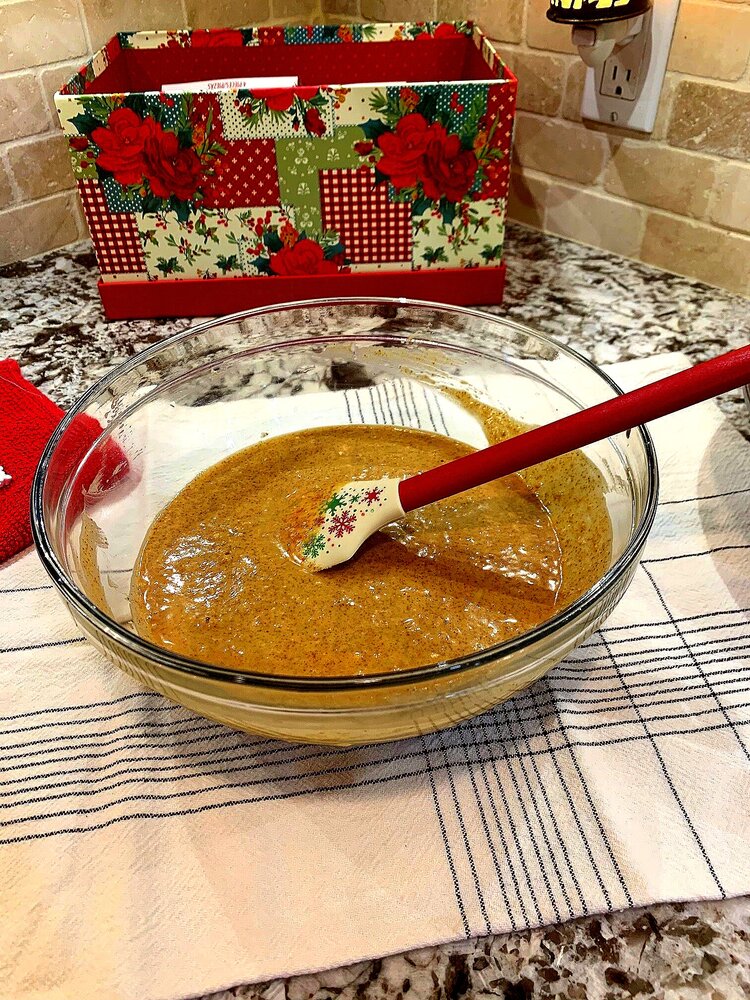
2. Fill the pan with cake mixture
Fill them up a little more than halfway and bake them as the instructions read for cupcakes. Whenever that time is up, just keep checking on them, you should be able to insert a toothpick and have it come out clean. Soggy centers will make the house fall and that is not a good thing for your Christmas village.
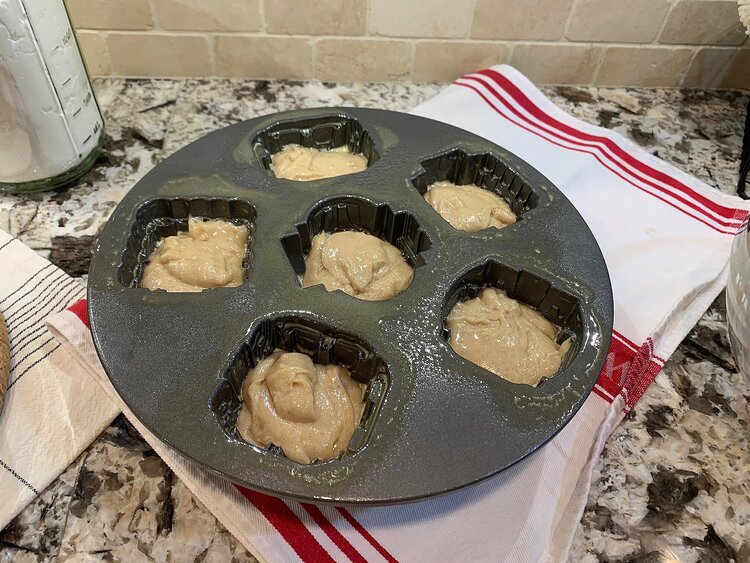
3. Let cakes cool and remove from pan
Let them cool about 15 minutes and if you were an accomplished “sprayer” then they should lift right out.
4. Decorate your little Christmas Village cakes!
When they have cooled completely you can go to town with your powdered sugar and small Christmas decorations.
I used a small strainer and sifted the powdered sugar over the houses to create a snowy look. I used little Christmas decorations and a few strands of greenery and red berries around my little houses. I put mine on a plate with a glass dome and it looks so festive. You can make an entire village if you have a larger display area.
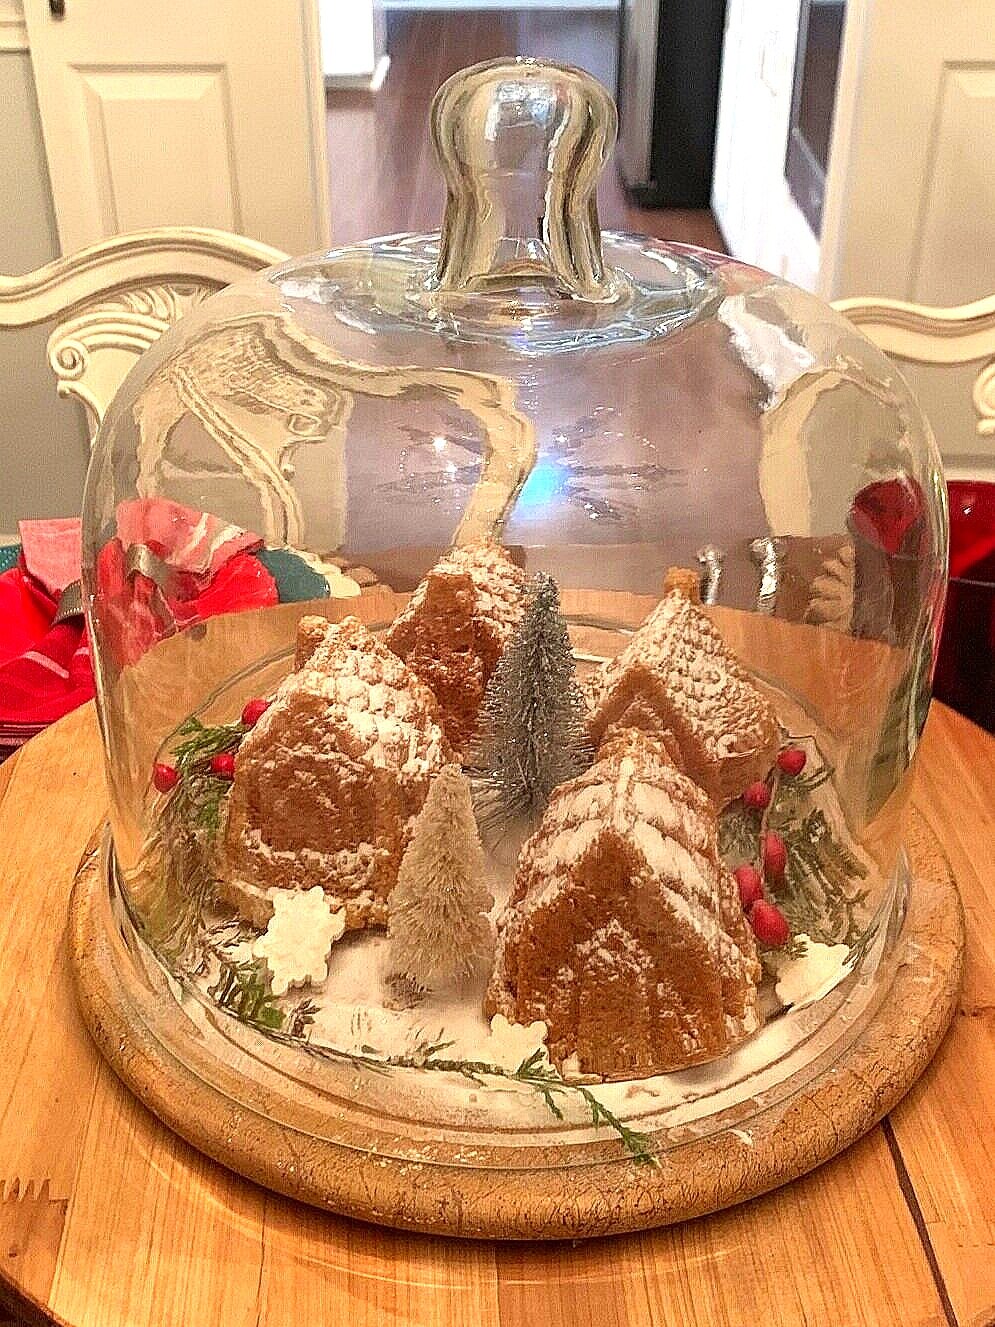
And, of course, you can make them just for fun, not to display but for kiddos or spouses to gobble up a Christmas village. Happy Baking!


